
이전글
https://goodthinking.tistory.com/42
스프링부트 기초 - 2. CRUD 게시판 만들어보기
이전글 https://goodthinking.tistory.com/41 스프링부트 기초 - 1. 스프링부트 개요 & 프로젝트 설치 및 설정 개요 안녕하세요. 이번에 스프링부트를 공부하면서 블로그에 정리하면 좋을것같아 찾아왔습니
goodthinking.tistory.com
이전글에서는 게시판만들기에 앞서 기본 main 페이지를 생성하고 컨트롤러를 등록했습니다.
이제 본격적인 게시판생성을 해보겠습니다.
그전에 header 를 먼저 정리하겠습니다.
필요한 부분만 남기고 일단 지워둘게요.
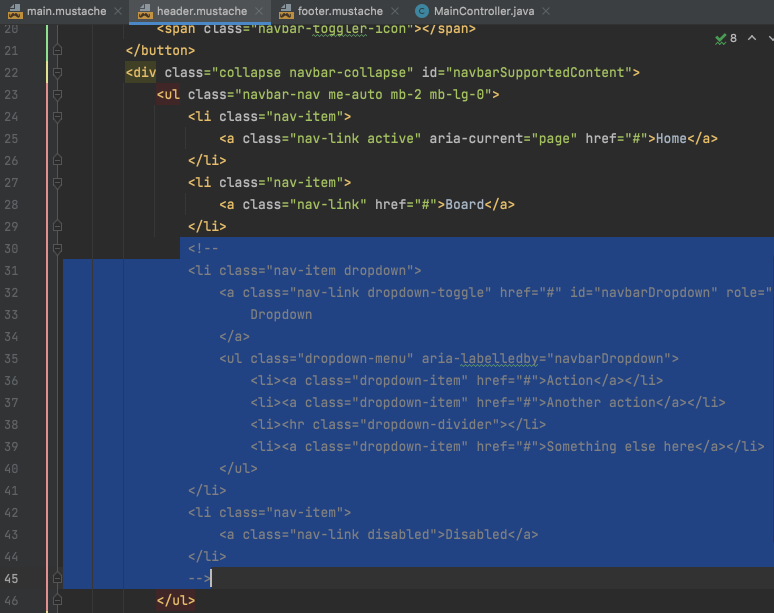
그리고 Main 페이지의 내용을 table 로 처리합니다.
{{>layouts/header}}
<div class="p-5">
    <table class="table table-hover text-center" style="border: 1px solid">
        <thead>
            <tr>
                <th>번호</th>
                <th>제목</th>
                <th>내용</th>
            </tr>
        </thead>
        <tbody>
            <tr>
                <td>1</td>
                <td>제목입니다.</td>
                <td>내용입니다.</td>
            </tr>
        </tbody>
    </table>
    <a class="btn btn-primary" href="write">생성</a>
</div>
{{>layouts/footer}}
부트스트랩이 적용되어있는 header & footer 로 인해 table class 에 부트스트랩 코드를 넣어서 적용시킵니다.
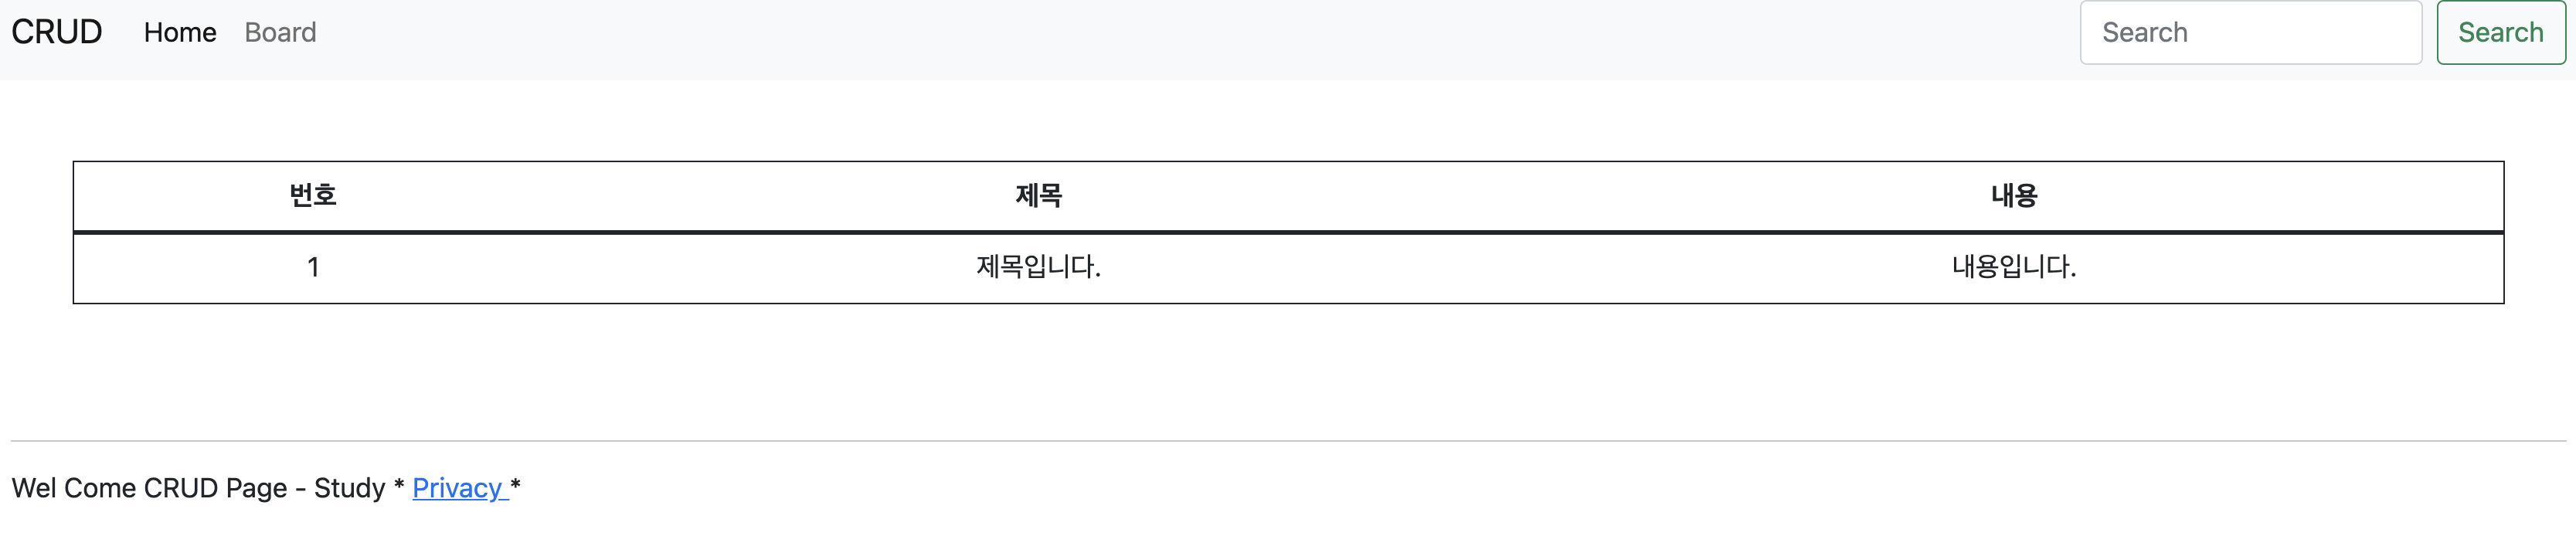
그리고 서버를 재실행 하고 페이지 새로고침하면 위와같은 화면이 뜨면 됩니다.
게시판글을 생성할 수 있는 버튼을 만들었습니다 ( a 태그) 그 다음 저 버튼을 누르면 컨트롤러를 통해 write page 가 리턴되도록 컨트롤러를 작성합니다. 여기서 컨트롤러에 RequestMapping 은 a태그의 생성버튼이 서버에게 Request. 즉 요청한거기 때문에 요청에 대한 매핑주소를 받는다. 라는 의미정도로 이해하고 있습니다.
    @GetMapping("/write")
    public String write(){
        return "articles/write";
    }
그리고 작성된 주소에 있는 write 파일을 생성해줍니다.
src >main >resources >templates >articles 디렉토리에 write.mustache 를 생성하고
{{>layouts/header}}
<form class="container" action="/articles/create" method="post">
<div class="mb-3">
<label class="form-label">제목</label>
<input type="text" class="form-control" name="title">
</div>
<div class="mb-3">
<label class="form-label">내용</label>
<textarea class="form-control" rows="3" name="content"></textarea>
</div>
<button type="submit" class="btn btn-primary">제출</button>
</form>
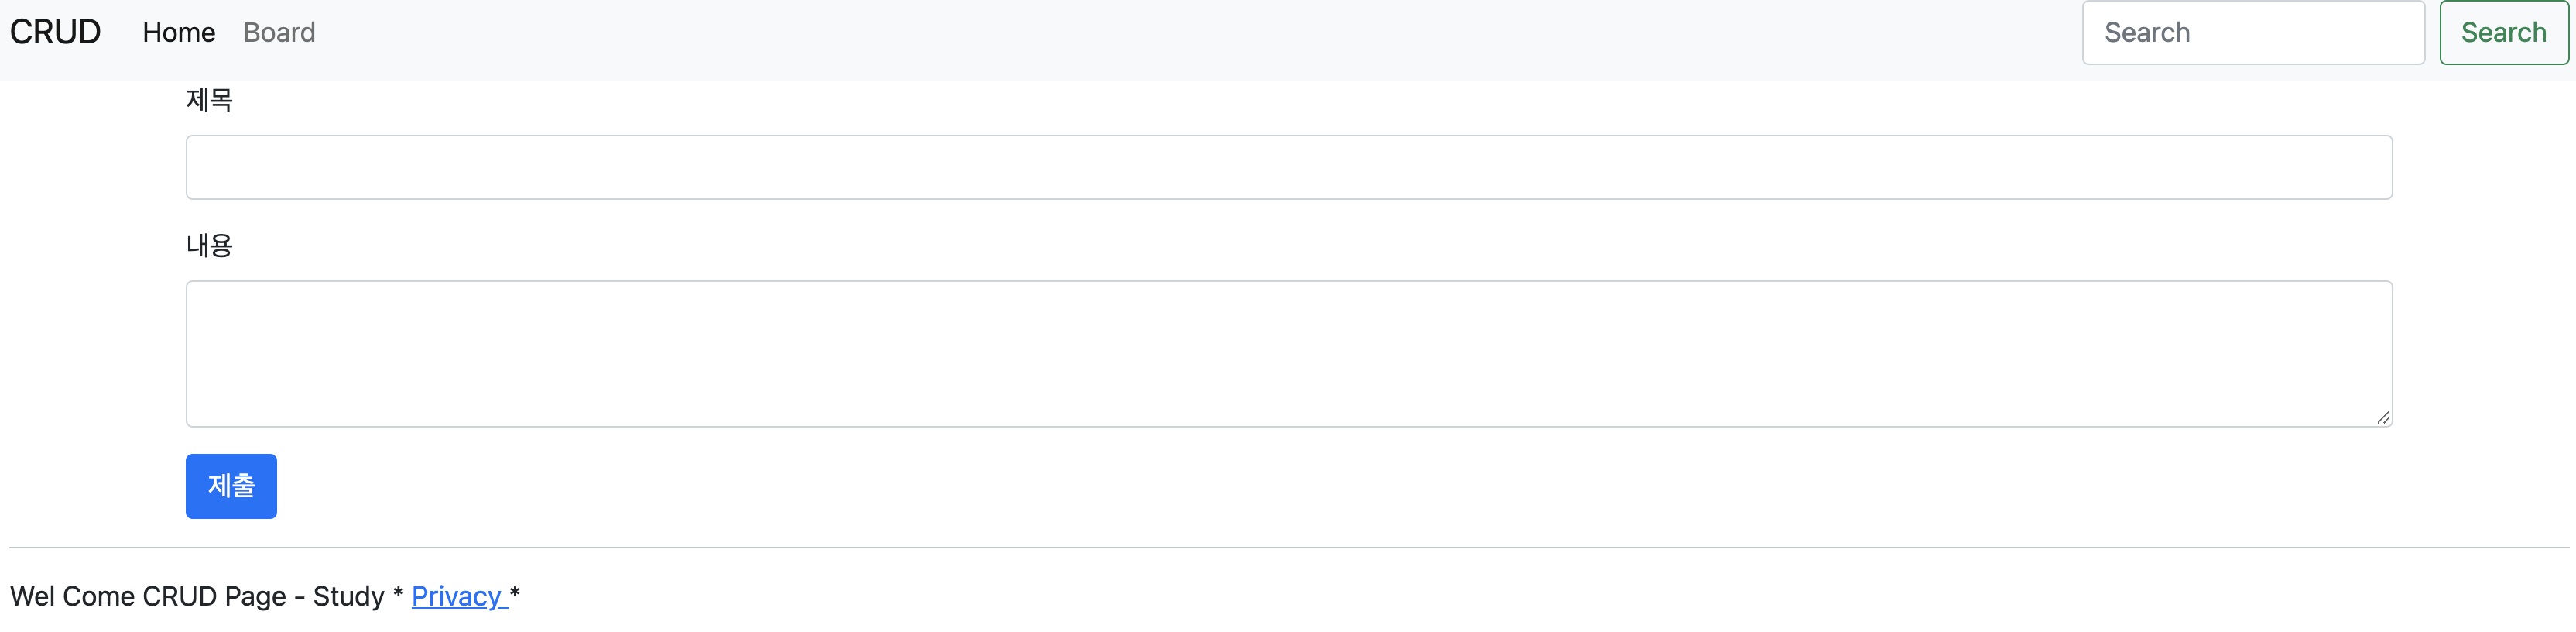
{{>layouts/footer}}간단한 폼으로 예제를 만들었습니다.
그 결과 화면입니다.
먼저 폼을 만들었고, 이제 그 폼에 입력한 데이터를 비즈니스 로직으로 처리하여 DB에 저장을 해야합니다.
그 전에 먼저 코드간소화 및 리팩토링을 위해 Lombok 을 설치해야합니다. Help > Find Action > Plugins > Market.. > Lombok 검색후 인스톨하고 만약 설치가 되셨으면 바로 프로젝트에 build.gradle 이라는 코끼리로고의 파일에 아래 두줄을 추가해주세요.
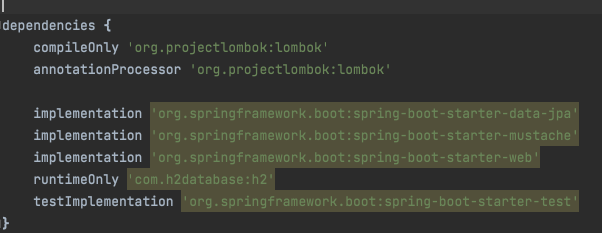
그리고 Gradle 을 새로고침해주시면 설치가 완료됩니다.
그리고 패키지에 컨트롤러처럼 dto, entity 라는 패키지를 생성 후
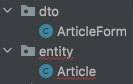
dto > ArticleForm
entity > Article
두가지를 Java Class 로 생성합니다.
먼저, Article
@Entity
@AllArgsConstructor
@ToString
public class Article {

    @Id
    private Long id;

    @Column
    private String title;
    @Column
    private String content;

}
그 다음 ArticleForm
@AllArgsConstructor
@ToString
public class ArticleForm {

    private String title;
    private String content;

    public Article toEntity(){
        return new Article(null, title, content);
    }
}
이렇게 하시면 정보를 담을 객체를 생성했습니다.
그리고 이어서 패키지에 repository 를 생성한 후
Java Class 에서 Interface 를 생성합니다.
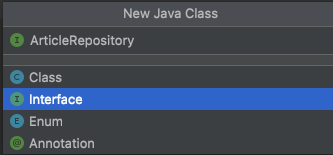
public interface ArticleRepository  extends CrudRepository<Article, Long> {
}
그리고 JPA 인터페이스에 내장되어있는 extends CrudRepository 를 상속받습니다.
더 추가적인 기능을 사용하려면 JpaRepository 를 상속받겠지만, 이번 프로젝트는 CRUD 만을 사용하기때문에 Crud로 진행합니다.
한번 정리하겠습니다. src> main >java 디렉토리 패키지에는 총 4개의 세부 패키지가 있을겁니다.
- controller
- dto
- entity
- repository
이렇게 4가지 패키지가 있다면 이제 게시글을 만들어볼까요?
게시글 생성컨트롤러입니다.
@PostMapping("/articles/create")
    public String create(ArticleForm form){
        // DTO를 Entity로 변환
        Article article = form.toEntity();

        // Repository에게 Entity를 DB에 저장한다.
        Article saved = articleRepository.save(article);

        // 성공적으로 저장한다음, 다시 재요청으로 페이지를 리다이렉트로 상세페이지 호출
        return "redirect:/main/" + saved.getId();
    }
create 주소로 요청이 post, 들어오면 entity로 변환하고 DB에 저장한 후 그 결과를 리다이렉트로 다시 재반환합니다.
그리고 생성된 id를 포함한 상세페이지로 이동하게 되는 구조입니다.
그리고 생성한 뒤 상세페이지를 보여줄 새로운 html(mustache) 페이지를 생성해야겠죠?
resources >templates >articles >show.mustache 를 생성하겠습니다.
{{>layouts/header}}
<table class="table">
    <thead>
    <tr>
        <th scope="col">Id</th>
        <th scope="col">Title</th>
        <th scope="col">Content</th>
    </tr>
    </thead>
    <tbody>
        {{#article}}
        <tr>
            <th>{{id}}</th>
            <td>{{title}}</td>
            <td>{{content}}</td>
        </tr>
        {{/article}}
    </tbody>
</table>
<a href="/articles/{{id}}/edit" class="btn btn-primary">수정</a>
<a href="/articles/{{id}}/delete" class="btn btn-danger">삭제</a>
<a href="/articles" class="btn btn-primary">목록</a>
{{>layouts/footer}}
<tbody> 태그안에 내용을 보시면 {{#article}} 이라는 내용이 있습니다.
이는 java 에서 for문과 거의 유사한 코드라고 보시면 되며, {{# 태그}} 로 감싸진 내용 안에 {{}} 에는 java 에서 jstl 처럼 정보를 뿌려줍니다.
근데 이렇게만 저장하고 요청하면 에러가 납니다.
왜일까요? 이유는 컨트롤러에서 생성 시 리다이렉트라는 개념을 이해해야합니다.
redirect 는 말 그대로 재전송, 재지시같은 의미를 나타내며 성공적으로 리턴할 경우 다시 요청해 다른 메소드를 호출하는 겁니다.
그러므로 redirect 했던 id주소 값을 받아서 show 페이지로 연결해야하는거죠..
 @GetMapping("/articles/{id}")
    public String show(@PathVariable Long id, Model model){
        log.info("id : "+ id);

        //1. id로 데이터를 가져옴
        // Optional<Article> articleEntity = articleRepository.findById(id); 자바8버전부터 제네릭코드를 이용해서 적용가능하나 일단 지양.
        Article articleEntity = articleRepository.findById(id).orElse(null); //orElse(null) = 값을 찾을 때 만약 값이 없다면 null을 반환해라라는 뜻.

        //2. 가져온 데이터를 모델에 등록
        model.addAttribute("article", articleEntity);

        //3. 보여줄 페이지를 설정
        return "articles/show";
    }
@GetMapping으로 주소를 가져오는데 끝에 {id} 가 있습니다. 이는 id라는 변수로 받아오는 거에요.
그래서 매개변수로 @PathVariable Long id 이 부분이 매핑주소의 변수를 받아서 처리할 수 있게 합니다.
Model 은 아시겠지만 뷰 페이지로 정보를 보낼 때 사용합니다.
그리고 그 결과를 articles/show.mustache 로 반환하게 되는거죠
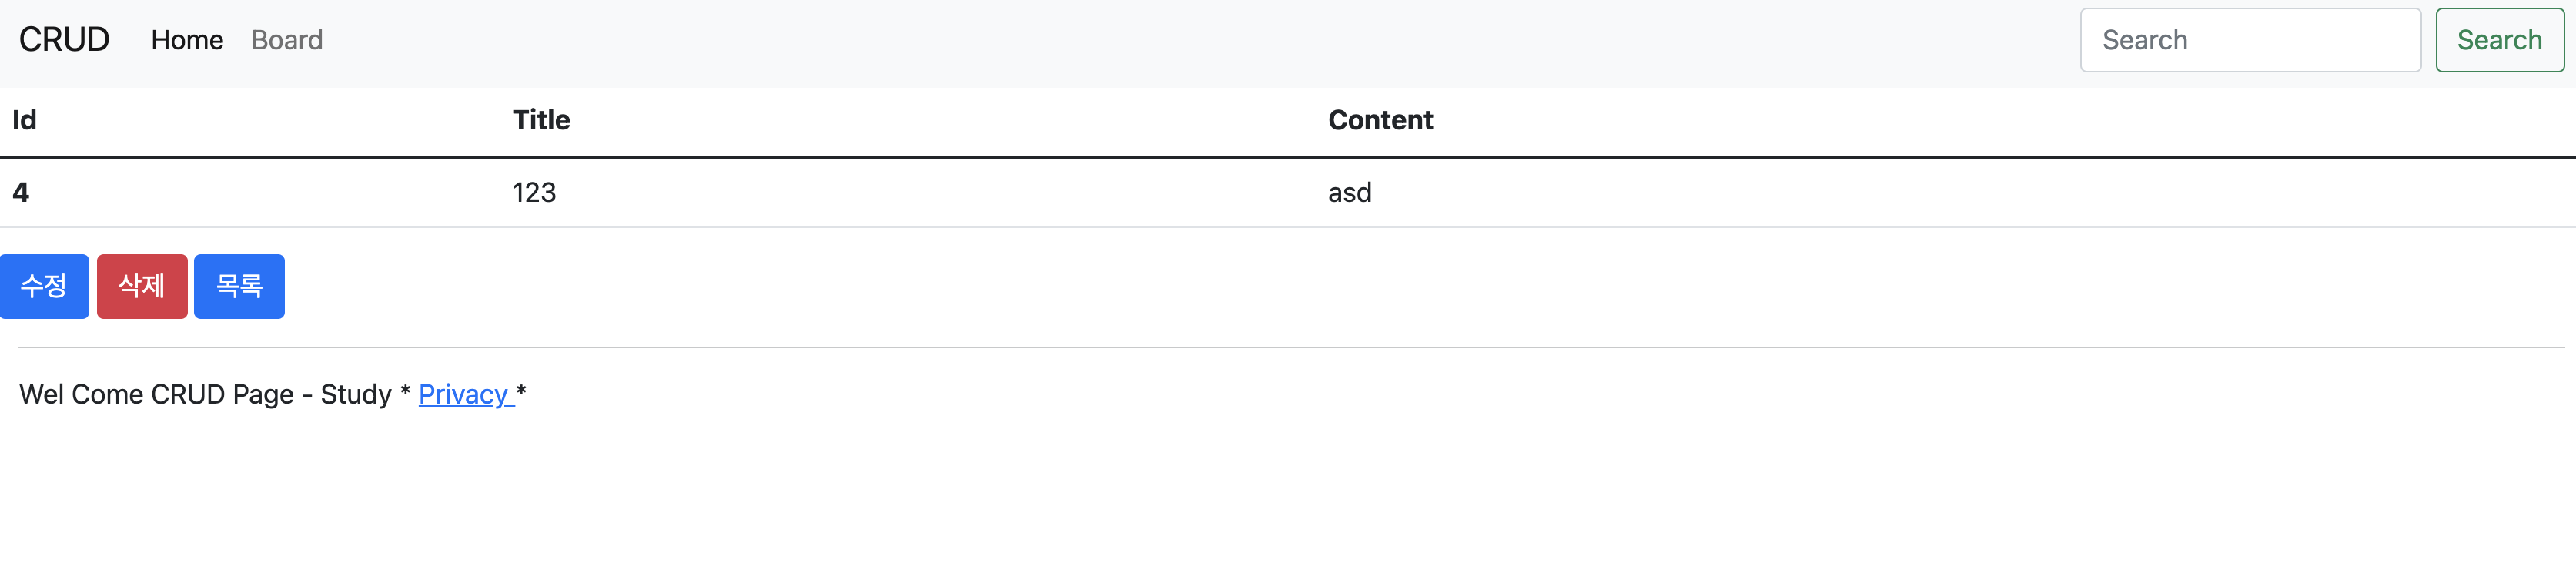
반환된 show 의 화면입니다.
그리고 몇개의 글을 생성하면 아래와 같은 리스트가 나타납니다.
이것으로 CRUD 에서 Create , Read 가 완성되었습니다.

그리고 리스트에서 상세페이지 진입 시 제목칸에 a태그를 넣어 링크연결했습니다.
{{>layouts/header}}
<div class="p-5">
    <table class="table table-hover text-center" style="border: 1px solid">
        <thead>
            <tr>
                <th>번호</th>
                <th>제목</th>
                <th>내용</th>
            </tr>
        </thead>
        <tbody>
            {{#articleList}}
            <tr>
                <td>{{id}}</td>
                <td><a href="articles/{{id}}">{{title}}</a></td>
                <td>{{content}}</td>
            </tr>
            {{/articleList}}
        </tbody>
    </table>
    <a class="btn btn-primary" href="write">생성</a>
</div>
{{>layouts/footer}}
main.mustache 코드입니다.
그러면 다음 포스팅에선 업데이트를 해보겠습니다. 감사합니다
'Programming > Spring' 카테고리의 다른 글
| 스프링부트 - SXSSF 형식으로 엑셀 다운로드 모듈만들기 (0) | 2022.01.05 |
|---|---|
| 스프링부트 기초 - 4. 게시판 수정,삭제 (0) | 2021.12.07 |
| 스프링부트 기초 - 2. 게시판 시작해보기 (0) | 2021.12.02 |
| 스프링부트 기초 - 1. 스프링부트 개요 & 프로젝트 설치 및 설정 (0) | 2021.12.02 |
| 스프링 이미지게시판 - div 태그 contentEditable 기능 (0) | 2021.10.25 |